Skip to content
E Sylvia & AI Official Artist Website
  • 🎁 Browse the Collections 🎁 Chevron Bottom
    • 💿 Albums & Lyrics 💿
    • 🌸 Flower Logo 🌸
    • 👑 Fortuna 👑
    • ✨ Ritual Art & Journals ✨
    • 🀢 Tarot Art 🀢
  • 📚 Blog
  • MYR Chevron Bottom
    • USD
    • EUR
    • CAD
    • GBP
    • AUD
    • NZD
    • SEK
    • NOK
    • DKK
    • PLN
    • INR
    • JPY
    • MYR
    • SGD
    • MXN
    • BRL
    • CHF
  • Account
  • Cart
  • 🎁 Browse the Collections 🎁
    • 💿 Albums & Lyrics 💿
    • 🌸 Flower Logo 🌸
    • 👑 Fortuna 👑
    • ✨ Ritual Art & Journals ✨
    • 🀢 Tarot Art 🀢
  • 📚 Blog
  • MYR
    Chevron Bottom
    • USD
    • EUR
    • CAD
    • GBP
    • AUD
    • NZD
    • SEK
    • NOK
    • DKK
    • PLN
    • INR
    • JPY
    • MYR
    • SGD
    • MXN
    • BRL
    • CHF

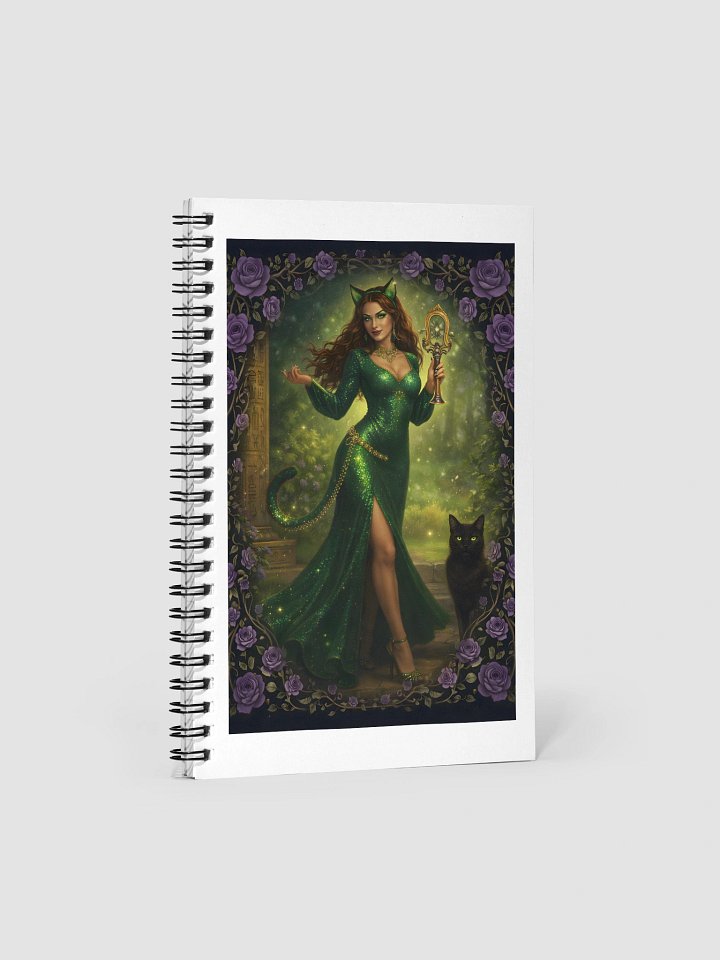
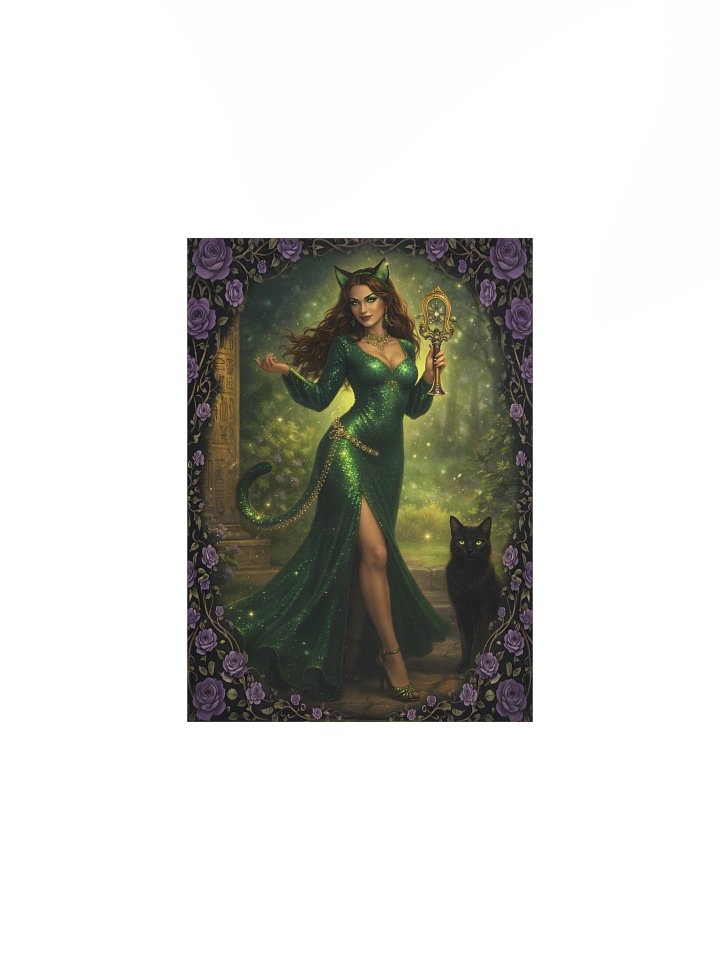
✨ Love with Bastet, Goddess Ritual ✨

Love with Bastet, Goddess Ritual Spiral Notebook product image (1) Love with Bastet, Goddess Ritual Spiral Notebook product image (2)

Love with Bastet, Goddess Ritual Spiral Notebook

RM 91.67
Love with Bastet, Goddess Ritual Mini-Poster product image (1) Love with Bastet, Goddess Ritual Mini-Poster product image (2)

Love with Bastet, Goddess Ritual Mini-Poster

RM 45.83
Product artwork and some text on this site were created or enhanced using AI tools. All artistic concepts and direction are original.
  • MYR Chevron Bottom
    • USD
    • EUR
    • CAD
    • GBP
    • AUD
    • NZD
    • SEK
    • NOK
    • DKK
    • PLN
    • INR
    • JPY
    • MYR
    • SGD
    • MXN
    • BRL
    • CHF
  • Contact Support
  • Terms of Service
  • Privacy Policy
  • Returns & FAQ
  • © 2026 E Sylvia & AI Official Artist Website
  • Powered by Fourthwall
  • Admin
  • Supporter
Edit collection Go to dashboard
  • Admin
  • Supporter
Go to dashboard